
Car Seat Installation: Checks Before the First Trip

Installing a child car seat is easier to check before a rushed departure. Set aside time with both the car seat manual and the vehicle manual. The exact instructions for those products matter more than a demonstration using a different model.
This guide helps you organize the checks. It does not replace the installation instructions or a fitting assessment when something does not seem right.
Confirm the seat and seating position
Start with a restraint suitable for your child’s current size. The rear facing seat guide explains how to choose the mode and check its limits. Confirm that the vehicle seating position is permitted and that the seat can be installed there correctly.
Never put a rear facing child seat in front of an active passenger airbag. Do not assume that the middle rear position has suitable anchors simply because anchors are visible on either side. The vehicle manual identifies the permitted attachment points.
Follow one approved attachment method
Use the belt path and attachment system specified for the seat’s current mode. Seat belt and lower anchor installations can both be appropriate when approved and correctly used. Do not combine them unless both manufacturers explicitly permit that arrangement.
A seat belt must be secured as the manuals require. Lower anchor systems also have limits; check them instead of assuming they remain suitable for every stage. If the seat uses a support leg, tether or another required component, follow its instructions and the vehicle compatibility information. Cargo hooks are not substitutes for designated restraint anchors.
Check movement and recline
For a conventional installation secured by a belt or lower anchor strap, check movement at the belt path as directed. US guidance uses no more than one inch of movement from side to side or front to back at that point. Follow the specific checks for your model, including any installation indicators.
Set the recline using the seat’s guide or indicator. Do not copy the angle of a different seat or add a cushion to change it. If a removable carrier clicks into a base, check that it is fully attached before each trip.
Fit the harness to the child
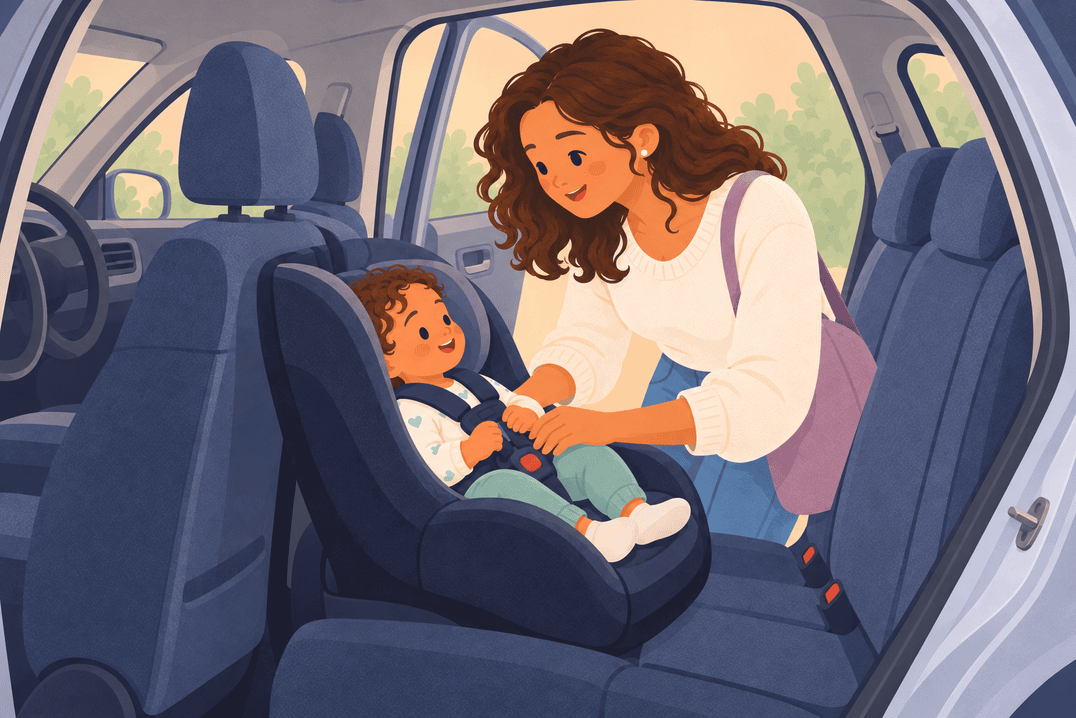
Follow the manual for shoulder strap position, buckle position and tightening. With a rear facing harness, straps generally come from at or below shoulder level and should lie flat. Tighten until you cannot pinch excess strap at the shoulder. If the seat has a chest clip, position it as instructed, typically at armpit level.
Remove bulky coats from under the harness. Use only inserts and accessories approved for that exact seat. Do not add an extra chest clip to a design that does not include one.
Practise with every caregiver
Ask anyone transporting your child to demonstrate the installation and harness routine. Arrange a qualified fitting check if you are uncertain, especially after changing cars or modes. Keep the instructions with the equipment.
The outing guide covers safe stops and cleanup. At home, transfer a sleeping baby to a firm, flat safe sleep space rather than using the car seat as a bed.
References

Lifeing Editorial
Stories for a little more understanding, a little more reassurance, and the everyday moments in between.
Related posts

Cervical length scans: Why They May Be Offered